Hummingbird feeder cleaning is very important for everyone who is feeding the hummingbirds in their backyard. It’s one of the vital aspects of feeding the birds. Not only are the hummingbirds consistent with the clean feeders, but it’s also beneficial for their healthier lifestyle. Most of the hummingbirds also go without drinking the nectar from the dirty hummingbird feeders. So, make sure to clean your hummingbird feeders regularly if you wanted to continue enjoying their visits.
Unfortunately, the nectar sugar is broken down and responsible for all the nasty things, including mold, fungus, and bacteria. This sugar will ferment inside of our feeder after some time and needs a thorough cleaning. Sometimes the hummingbirds ingest this contaminated sugar, which leads them to some serious health issues. In this article, we will provide everything you want to know about your nectar feeder’s cleaning.
[acf field=”videoschema”]Step by step guide to clean the hummingbird feeder
Below we will break down all the feeder cleaning steps to make it easier for you to understand the cleaning procedure.
Step#1: Prepare the cleaning solution
Before start cleaning your feeder, you need to prepare a perfect cleaning solution. There are three main types of nectar feeder cleaning solutions.
- The first one is the Vinegar and water solution made by taking one part of the Vinegar and two parts of the water. It’s one of the best solutions to clean the hummingbird feeders due to its cleaning power and safety. Vinegar is a natural cleaner that has the power to clean and sterilize most germs without any side effects.
- The second solution is a combination of bleach and water that requires one part bleach and nine parts water. This solution is also ideal for seed-containing bird feeders. It has the power to kill all the germs to prevent the spread of different diseases. But make sure to scrub all the remaining residue from the feeder as the hummingbirds are tiny birds and more sensitive to the chemicals. Rinse your hummingbird feeder with clean water after scrubbing with bleach.
The third solution is a combination of hot water and a bit of dish soap. It’s a simple solution to clean the hummingbird feeder when you don’t have enough time. Simple hot water is also good, but a little bit of added soap is ideal for sterilizing the disease-spreading bacteria.
Step#2: Get all the cleaning supplies ready
It’s important to read all your feeder cleaning stuff before detaching your feeder. Let’s see what essential cleaning stuff you needed to clean your hummingbird feeder thoroughly.
Brushes
You need to choose the best cleaning brushes according to the style of your hummingbird feeder. Many famous brushing sets include the Droll Yankees hummingbird brush, bottle cleaning brush set, and micro brushes. Droll Yankees and bottle cleaning brush sets are ideal for cleaning the bottle nectar feeder from inside. In comparison, the micro brushes are perfect for cleaning the feeder ports and other narrow parts.
Cloth
You always need to dry your hummingbird feeder before filling it with nectar, as a wet feeder may contain some remaining chemical residue that can be dangerous for hummingbirds. So, makes sure to grab a soft, dry cloth to wipe down your feeder before hanging.
Small pan or sink
You need to soak your hummingbird feeder in the cleaning solution for 10 minutes—especially the dirtiest hummingbird feeder. So, try to take a bucket or other small container. You can also fill your sink to soak the feeder for some time.
Step#3: Detach the feeder and drain nectar
Place the feeder in the sink or any bucket you have and take apart all the detachable parts. Most of the feeders include the detachable base, bottle, bee guards, and feeding ports. Make sure to don’t lose any feeder’s part accidentally. Drain all the nectar from the feeder by turning on the sink to clean all the remaining nectar and debris.
Step#4: Soak every part of the feeder
Soak each part of your feeder in the cleaning solution for at least 10 minutes. This will disinfect all the bacteria and loosen the sugar crystals that are stuck on the feeder.
Step#5: Scrub your feeder
Now, take your brushes and start scrubbing the feeder. Make sure to scrub all the surface areas of the feeder with the help of different-sized brushes. Use the large brushes for the nectar reservoir and the small brushes for the small, skinny areas like the feeding ports. You can also use the toothbrushes for more dirty and sticky areas and scrub them until crystallized nectar is washed away.
Step#7: Wash with Fresh Water
Now it’s time to rinse the feeder with fresh, clean water. Warm water is recommended for cleaning. Ensure all the cleaning solution is washed away from the feeder, and dry it with a soft cloth towel. You can also put it in the sun for some time to completely evaporate the water.
Step#8: Fill with new nectar and hang
Finally, you are ready to hang a perfectly cleaned hummingbird feeder in your backyard. Fill it with the fresh nectar and hang it at a perfect location to attract the hummingbirds. You will feel the almost brand new delicious look of your hummingbird feeder.
5 Tips to keep the nectar fresh and clean longer
1. Put your hummingbird feeder in the shade
The warmer nectar spoils and ferments faster than the cool nectar. So, try to keep the nectar cool by placing it under shade. At least you can put your hummingbird feeder at a place that is shaded during the mid-afternoon.
2. Use nectar defender
You can add a nectar defender before pouring it into the feeder. It’s a natural product that extends the nectar life without any side effects for the hummingbirds. The magical thing in the nectar defender is the copper that delays bacteria, fungus, and mold formation. The only thing you need to be careful about the natural defender is don’t add it too much such that the hummingbirds can smell the copper in the nectar. So, if you have decided to use it, make sure it’s not discouraging the hummingbirds.
3. Use small hummingbird feeders
Usually, we see only a few hummingbirds on the feeders. So, you don’t need a too big feeder with high nectar capacity. Big feeders are rarely run out of nectar before they spoil, ending up with a lot of wasted nectar. Hummingbird feeders having 12 to 20-ounce nectar capacity are best unless plenty of hummingbirds visit your feeder daily. Makes sure to keep the extra nectar in the refrigerator and quickly refill the feeder when it’s empty.
4. Sterilize the feeder every time
Fermentation-causing bacteria are mainly responsible for the nectar spoiling. The sugar water quickly goes bad in the dirtier feeders. The cleaner you keep your feeder, the longer the nectar will last. Make sure to sterilize your feeder every time you clean it.
5. Buy an Easy clean feeder
Make sure to buy a feeder that is easy to clean, as it’s an important thing to prevent the nectar spoiling. Some feeders are much easier to clean than others; especially the wider-mouth glass feeders are easy to clean.
Why it’s important to clean the hummingbird feeder?
The hummingbird feeder cleaning is essential due to the following reasons.
Dangerous for Hummingbirds
The dirty feeders can be extremely deadly for the hummingbirds, especially when the hummingbird starts drinking fermenting nectar. The sugar breaking with time can lead to the growth of bacteria, mold, and fungus. These things are very sensitive for the small hummingbird digestive system. Sometimes the old sugar is also crystallized inside the feeder, especially in the ports. If you let your feeder in this condition with bacteria, mold, and fungus, it’s quickly ruined your feeder.
Discourage the Hummingbirds
The dirty feeder also discourages the hummingbirds from revisiting your feeder. Your feeder look is the very first thing that attracts the hummingbirds to your garden. At the same time, the second thing is the freshwater, including the smell and taste. A dirty feeder can encourage the hummingbirds to explore the other territories.
How often should I need to clean my Hummingbird feeder?
It’s difficult to answer, as it depends on many factors, including the weather, feeder location, and the number of birds visiting your feeder daily.
Try to put your feeder under shade to prevent the nectar from spoiling. If your feeder bake in sunshine the whole day, it needs more frequent nectar replacing and cleaning. Any spot under the tree or a spot of your house facing the north are the perfect locations to hang the feeder. Unfortunately, we can’t control the weather. So, you need to clean your feeder more frequently during the hot weather. So makes sure to change the nectar every two days during hot weather. While during the milder weather, once a weak is fine.
How can I know if the nectar is spoiled?
Many people are a little confused while determining about their feeder nectar spoiling. But some important points with little practice can be handy for you to decide if the nectar needs to be changed. You need to look for the following things.
- See for the cloudy water like watered milk or any fibrous structures floating around; if the nectar is not 100% clear, it needs to be changed.
- If you found any fungus or mold growing around the feeding ports or inside the reservoir, make sure to change the nectar. It’s usually easy to locate with the black color.
- Sometimes the sugar water is crystallized around the ports, especially in the bottle-style feeders. It’s one of another sign of the nectar spoiling.
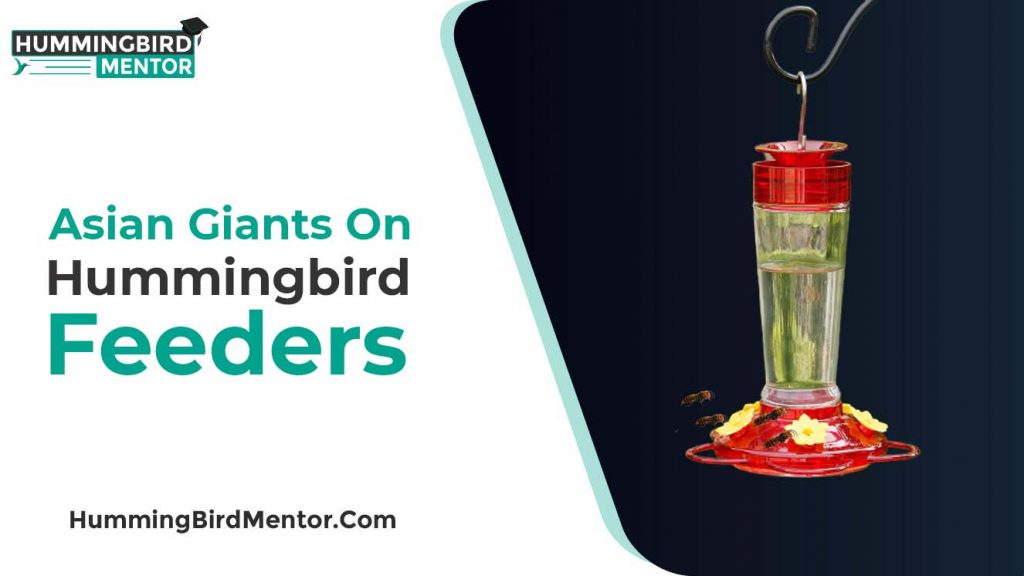
- If you found any floating insects and small flies or ants on the nectar, make sure to change the nectar. Many feeders have the ant-moat hook and built-in ant moat, but regular checking is important.
Frequently Asked Questions:
Is the hummingbird feeder dishwasher safe?
Many hummingbird feeders are dishwasher safe that provides you an effortless way to clean the feeder. You can throw it in the dishwasher and turn it on. But the dishwashing is usually not recommended by professionals. So, a simple hot water and soap solution is best to clean hummingbird feeders.
Does a dirty feeder kill the hummingbirds?
Yes, a moldy feeder can be responsible for the hummingbird’s death in extreme cases. Their small digestive system can’t handle the nectar with fungus, mold, and insects. Even it can also be responsible for their baby’s death.
Which feeders are easy to clean, glass or plastic?
Glass feeders are usually easier to clean with a wide-mouth and smooth surface. You can properly rinse them without worrying about the warp, fade, and cracks.
How can I prevent the mold from growing in my hummingbird feeder?
Sometimes you can’t reach the narrow areas of your hummingbird feeder where the mold is growing. In that case, try to soak the feeder in a mild solution of a ¼ cup of bleach and one gallon of water; after soaking, rinse the feeder thoroughly.
Will the Vinegar deter the hummingbirds?
Vinegar and water solution is one of the best to thoroughly clean the hummingbird’s feeders, as discussed above. But many people think that it can deter hummingbirds. You don’t need to worry; make sure that the feeder is completely dry before filling. You can also put it in the sun to evaporate any remaining residue of the Vinegar.